 Hyundai Veloster: Front Repair procedures
Hyundai Veloster 2011-2017 Service Manual / Body (Interior and Exterior) / Seat Belt / Front Repair procedures
Hyundai Veloster 2011-2017 Service Manual / Body (Interior and Exterior) / Seat Belt / Front Repair procedures
Replacement
Front Seat Belt Replacement
|
| 1. |
Remove the following items first :
|
| 2. |
Disconnect the battery negative cable, and wait for
at least three minutes before beginning work.
|
| 3. |
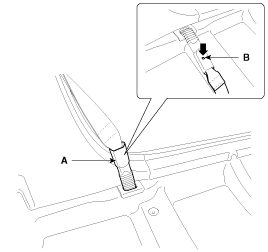
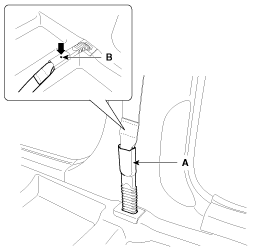
The seat belt anchor pretensioner (A) be removed
after pushing the lock pin (B) as arrow direction.
[LH]
[RH]
|
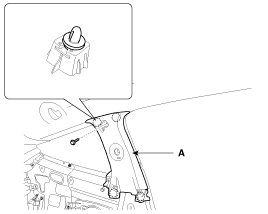
| 4. |
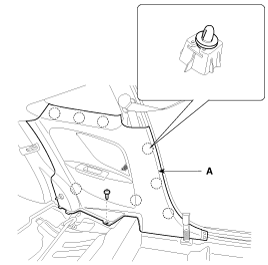
Using a screwdriver or remover, remove the center
pillar lower trim (A).
[LH]
[RH]
|
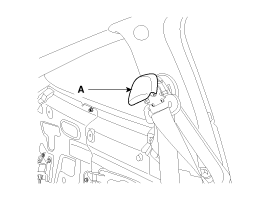
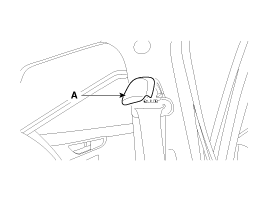
| 5. |
Using a screwdriver or remover, remove the front
seat belt upper anchor cover (A).
[LH]
[RH]
|
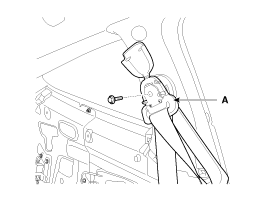
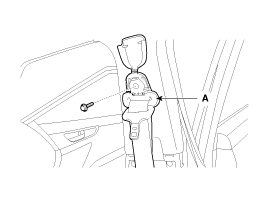
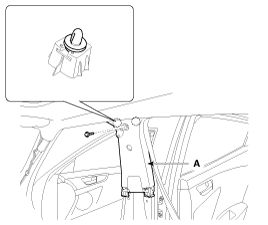
| 6. |
After loosening the mounting bolt, then remove the
front seat belt upper anchor (A).
[LH]
[RH]
|
| 7. |
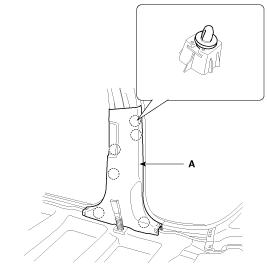
After loosening the mounting bolt, then remove the
center pillar upper trim (A).
[LH]
[RH]
|
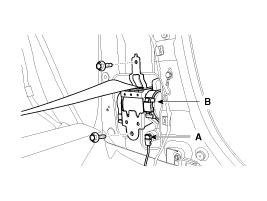
| 8. |
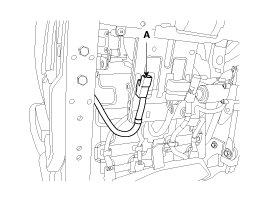
After disconnecting the pretensioner connector lock
pin, remove the seat belt pretensioner connector (A), loosen the mounting
bolts, then remove the pretensioner (B).
|
| 9. |
Installation is the reverse of removal.
|
Front Seat Belt Buckle Replacement
| 1. |
Remove the following items first :
|
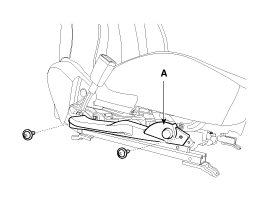
| 2. |
After loosening the mounting screws, then remove
the front seat track side cover (A).
|
| 3. |
Remove the seat belt buckle connector mounting clip
(A).
|
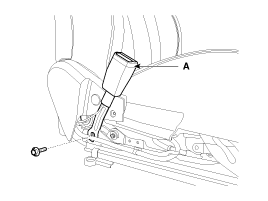
| 4. |
After loosening the mounting bolt, then remove the
front seat belt buckle (A).
|
| 5. |
Installation is the reverse of removal.
|
 Components and Components Location
Components
1. Front seat belt
2. Anchor pretensioner
3. Rear seat belt [RH]
4. Rear seat belt [LH]
5. Rear seat belt buckle [RH]
6. Rear seat belt buckle [LH ...
 Rear Repair procedures
Replacement
Rear Seat Belt Replacement
•
When installing the belt, make sure not to
dama ...
See also:
Immobilizer system
Your vehicle is equipped with an electronic engine immobilizer system to reduce
the risk of unauthorized vehicle use.
Your immobilizer system is comprised of a small transponder in the smart key
...
Components and Components Location
Components Location
[LHD]
1. Drive shaft
2. Lower arm
3. Front disc
4. Front strut assembly
5. Steering gearbox
6. Stabilizer bar
7. Sub fram ...
Categories
- Hyundai Veloster Manuals Home
- Hyundai Veloster 2010-2017 Owner's Manual
- Hyundai Veloster 2010-2017 Service Manual
© 2011-2026 Copyright www.hvmanual.com

