 Hyundai Veloster: Rear Hub - Carrier. Repair procedures
Hyundai Veloster 2011-2017 Service Manual / Driveshaft and axle / Rear Axle Assembly / Rear Hub - Carrier. Repair procedures
Hyundai Veloster 2011-2017 Service Manual / Driveshaft and axle / Rear Axle Assembly / Rear Hub - Carrier. Repair procedures
Replacement
| 1. |
Loosen the wheel nuts slightly.
Raise the vehicle, and make sure it is securely supported.
|
| 2. |
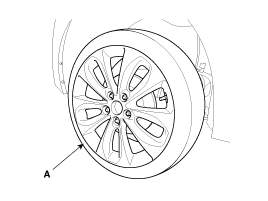
Remove the rear wheel and tire (A) from rear hub
.
|
| 3. |
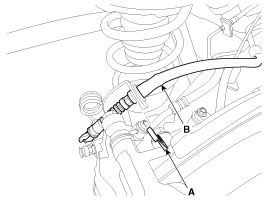
Remove the clip (A) and then remove the parking brake
cable (B).
|
| 4. |
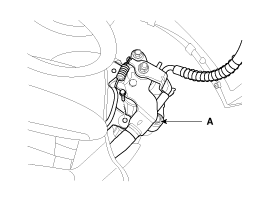
Remove the brake caliper mounting bolts, and then
place the brake caliper assembly (A) with wire.
|
| 5. |
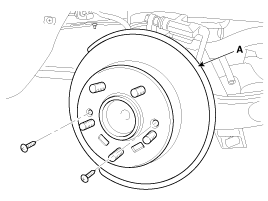
Loosen the mounting screws and then brake disc (A).
|
| 6. |
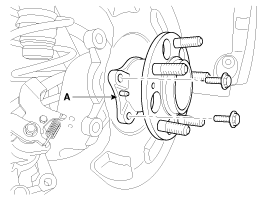
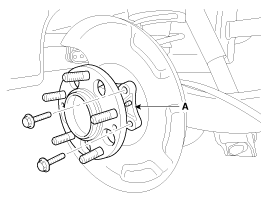
Loosen the hub mounting bolt and then remove the
hub (A) from torsion beam axle.
|
| 7. |
Install in the reverse order of removal.
|
Inspection
| 1. |
Check the hub for cracks and the splines for wear.
|
| 2. |
Check the brake disc for scoring and damage.
|
| 3. |
Check the rear axle carrier for cracks
|
| 4. |
Check the bearing for cracks or damage.
|

