 Hyundai Veloster: Rear Repair procedures
Hyundai Veloster 2011-2017 Service Manual / Body (Interior and Exterior) / Bumper / Rear Repair procedures
Hyundai Veloster 2011-2017 Service Manual / Body (Interior and Exterior) / Bumper / Rear Repair procedures
Replacement
|
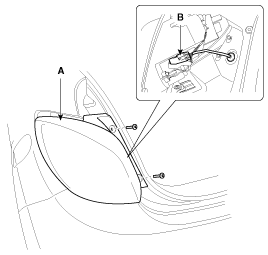
| 1. |
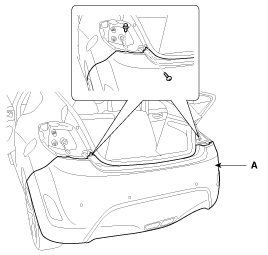
After loosening the mounting screws, then remove
the rear combination lamp (A).
|
| 2. |
Push the lock pin, disconnect the connector (B).
|
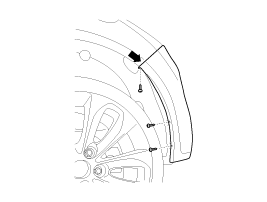
| 3. |
After loosening the rear bumper side’s mounting screw,
then disconnect the side’s.
|
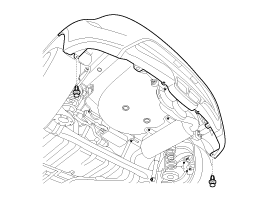
| 4. |
Remove the rear bumper lower mounting clips.
|
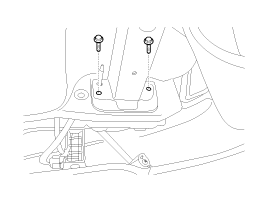
| 5. |
Loosen the mounting bolts.
|
| 6. |
After loosening the mounting screw and clip, then
remove the rear bumper (A).
|
| 7. |
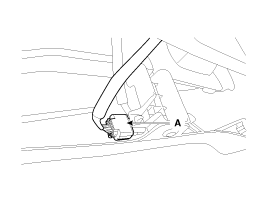
Push the lock pin, disconnect the rear bumper main
connector (A).
|
| 8. |
Installation is the reverse of removal.
|
 Rear Components and Components
Location
Components-1
1. Rear bumper cover
2. Tail trim lower cover
3. Rear bumper side bracket [RH]
4. Rear bumper side bracket [LH]
Components-2 (T-GDI)
...
See also:
Components and Components Location
Components
1. Driver Airbag (DAB)
2. Steering Wheel
3. Clock Spring
4. Passenger Airbag (PAB)
5. Side Airbag (SAB)
6. Curtain Airbag (CAB)
7. Seat Belt Pretension ...
Specifications
Specifications
Purge Control Solenoid Valve (PCSV)
▷ Specification
Item
Specification
Coil Resistance (Ω)
22.0 ~ 26.0 [20°C( ...
Seat Belt Pretensioner (BPT). Repair procedures
Removal
1.
Disconnect the battery negative cable, and wait for at least three
minutes before beginning work.
2.
Remove the lower anchor b ...
Categories
- Hyundai Veloster Manuals Home
- Hyundai Veloster 2010-2017 Owner's Manual
- Hyundai Veloster 2010-2017 Service Manual
© 2011-2025 Copyright www.hvmanual.com

